Showing posts with label savory. Show all posts

Friday, 14 November 2014

My Basic Hummus Recipe + Oven-roasted Squash

Happy birthday to me! Or happy belated to be correct, my 18th was this Monday. Yay! I can now... uh, buy beer, vote and (in the best of worlds) get my driver's license. Fun! But what's got me really excited is my birthday presents. Can you tell from the picture below what I got?

You guessed it: CHICKPEAS! My wonderful parents gave me a whole truckload of these gu... Wait a second. I'm just kidding. No offence chickpeas but you don't really make the best birthday presents. Okay so if you still haven't figured it out, I got a camera. A Canon EOS 700D that I know absolutely nothing about and have no idea how to use but still - a camera! C-A-M-E-R-A. Meaning this blog won't be nearly as boring from now on. So onto today's recipe:

There are many things that I've learnt to love since going vegan. Bananas, avocados, bell peppers, tofu bur first and foremost I've come to appreciate the beauty that is a perfectly creamy hummus. Everyone who's been following me on Instagram for a while probably knows that I've got a real sweet tooth and rarely choose savoury food if there is any kind of fruit around. With one exception. Hummus. A thick layer spread on a rice cake and my day is made. Hopefully you all like this recipe as well!


My Basic Hummus Recipe


Yields: 1-2 servings

2/3 cup cooked chickpeas

1 tbsp almond milk (Or olive oil if you want an even creamier texture)

1 tbsp nutritional yeast

1-2 tsp freshly squeezed lemon juice

Salt to taste

Optional: 1/2 tsp Paprika powder 
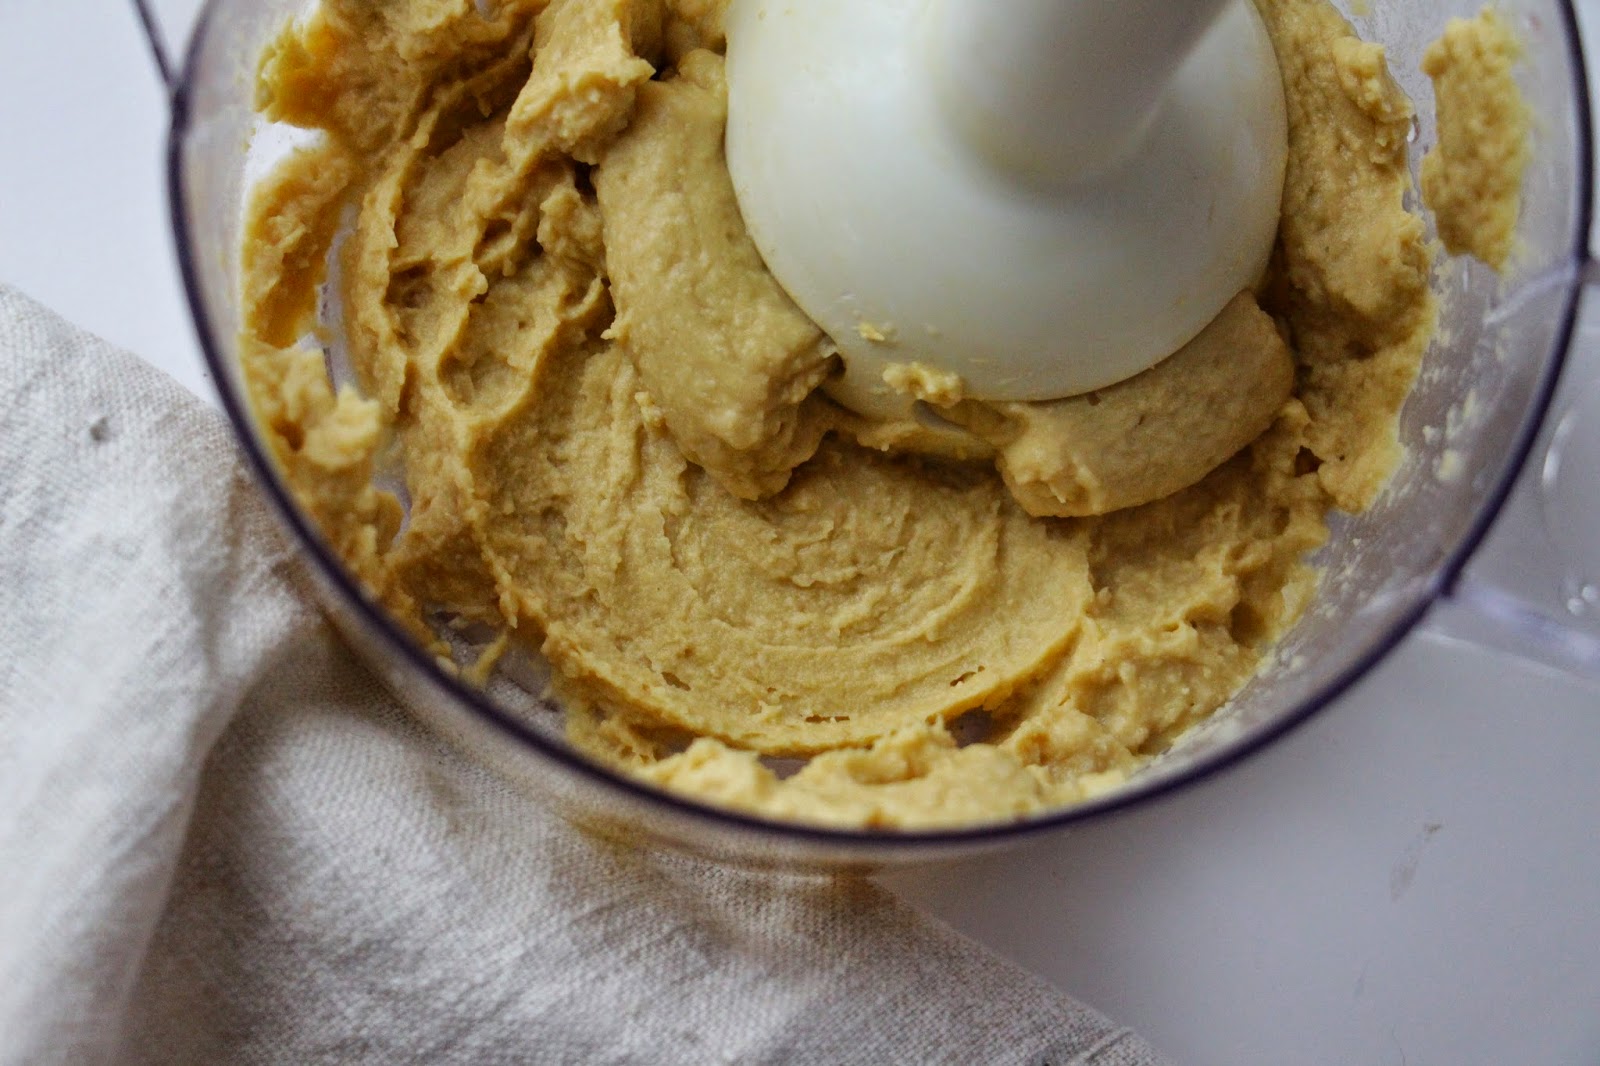

Blend well!
How to:
1. Place chickpeas in a colander in the sink and rinse to get rid of any excess sliminess from the can.
2. Blend all ingredients in a small bowl using a hand blender. Food processors are not recommended for this recipe.
3. Sprinkle with sesame seeds or drizzle with olive oil. Serve as a condiment to falafels, pita bread dishes, salads or maybe the roasted squash below!


Oven-roasted Herb-rubbed Winter Squash


Yields: 2 servings

1/2 small muscat pumpkin or winter squash of your choice

1 zucchini

1 tbsp olive oil

Herbs such as rosemary, thyme and oregano

Salt and pepper to taste

How to:
1. Pre-heat oven to 225C.
2. Cut your squash into halves and scoop out the seeds and the slimy, stringy things surrounding them. Save the other half of your squash in the fridge, unless you want bigger servings, then go ahead and use both halves.
3. Slice the squash about 1/2-inch thick for each slice and put aside.
4. Cut the zucchini lengthwise and slice in 1/2-inch thick slices.
5. Place the vegetables on a lined baking tray and rub with first olive oil then herbs. Spread out evenly on the tray and rosy in the oven for 20-25 minutes or until the squash is soft enough to pierce with a fork.


Sponsored by:
PopAds.net - The Best Popunder Adnetwork

Thursday, 14 August 2014

Gluten-free (Sliceable) Pizza Crust


Though I’ve never been one for pizzas, I’ve caught myself craving one like crazy more than once these past few months (and no, I’m not pregnant), which got me thinking. What if I made a gluten-free pizza crust based on my recipe for buckwheat wraps? Hmm, that might actually work. So I grabbed my buckwheat flour, chia seeds, herbs, salt and almond milk and just played it by ear. Out came a crust that exceeded my highest expectations! And I'm only exaggerating a little!

First of all, it does not crumble into oblivion when you cut a slice, as I’ve heard many other gluten-free pizza crusts do. You can actually pick up a slice and eat it like that if you want to (although I prefer to roll them up and eat them like “pizza snails” hehe). Second of all, it’s super easy to make and doesn’t require a gazillion different ingredients. Lastly, it tastes pretty good, at least in my own, not-so-humble opinion. Let me now if you give it a try, I’d love to hear how this recipe works for other people than myself!

Gluten-free (Sliceable) Pizza Crust


Serves: 1

50g or about 1/3 cup buckwheat flour

1 chia egg (1 tbsp ground or whole chia seeds + 3 tbsp water)

4 tbsp almond milk

½ tsp psyllium husk (optional but recommended)

Salt and herbs of choice, such as dried oregano or basil

Toppings: A thick tomato sauce loaded with oregano, sliced mushrooms, aubergine, zucchini, bell peppers, artichokes, vegan cheese… it’s up to you!

How to:
1. Pre-heat your oven to 220C. 
2. In a bowl, mix all dry ingredients then whisk in the wet until they’re all evenly combined. 3. Pre-heat a non-stick frying pan (or a skillet with a drizzle of oil on the bottom*), to medium to high heat, pour in the runny "dough" and make a big circle using a spoon. Leave it thicker around the edges for an authentic pizza feeling.
5. Fry for 4-5 minutes or until it’s firm enough to move from the pan, then transfer the crust onto a lined baking tray. 
6. Brush the crust with a bit of oil if you want to (I didn’t but this can prevent soggy bottoms). Spoon on the tomato sauce and desired toppings, then bake the pizza in the oven for 12-15 minutes.

Slice it up, sprinkle generously with nutritional yeast and eat to your heart’s content!

*Note: I have not tried frying the crust in a normal frying pan but I’m sure it’d work just as well as long as you have enough oil in there! It might burn quicker so make sure to watch it carefully and turn down the heat if you must.

Love, Tilda


Sponsored by:
PopAds.net - The Best Popunder Adnetwork

Wednesday, 13 August 2014

Cheezy Chickpea Balls

Yesterday, I received a big bag containing Lupin flakes, sent to me by Rhiannon over at Lupin Foods, all the way from Australia. So, what are Lupin Flakes then? The first thought that popped into my mind was Remus Lupin from the Harry Potter books. Ehrm, obviously not the case here. I did a little research on lupin Foods’ website and here’s what I found:

·      Lupins are part of the legume family and are mostly produced in Western Australia


·      Lupins are one of the best sources of vegan protein ON THE PLANET with 40g of protein per 100g dry flakes! (yes, I’m as shocked as you are)


·       If you’re looking to incorporate more fiber in your diet, look no more. Lupin flakes contain 37g of protein per 100g dry flakes. That’s almost 4 times the fiber content of whole wheat flour!


·      There’s no risk of Lupin poisoning when you’re consuming Lupin Flakes; the Australian Sweet Lupin contains only miniscule amounts of the toxic alkaloids found in the bitter varieties so no need to worry.


·      Is one of few vegan foods that contain all the 9 essential amino acids.


The packaging


Those are pretty amazing stats as far as I’m concerned and I really do look forward to using Lupin Flakes in more of my recipes!

This was my first attempt at a lupin recipe and I must say I was pleasantly surprised. These chickpea balls are crunchy on the outside, soft on the inside and provide a wonderful, savoury contrast to the sweet potato fries. Plus, one serving  contains 18g of protein! I mostly stick to a low-protein diet as I don’t believe the overconsumption of protein, that is so common these days, does any good to our bodies. Still, it’s absolutely vital to get enough protein when you’re on a plant-based diet and these balls are the perfect way to do so.

Cheezy Chickpea Balls


2/3 cup chickpeas (canned, drained and rinsed)

2 tbsp Lupin flakes*

1 tbsp nutritional yeast

1 tbsp almond milk

½ tsp psyllium husk

½ tsp dried oregano

Pinch of garlic powder

Salt and pepper to taste

*if you don’t have access to Lupin flakes, you could make the balls without them.

How to: 
1. Pre-heat your oven to 180C. Blend all ingredients with a hand blender and shape meatball-sized balls with your hands. Bake in the oven for 30 minutes or until they’re crisp and golden on the outside.

Easy-peasy Sweet Potato Fries

1 medium sized sweet potato
That’s it!

1. Pre-heat your oven to 170C. Cut your sweet potato into long strips and trim off any thin, sharp edges that might burn in the oven. Place the fries on a lined baking tray and bake in the oven for 40-50 minutes, turning them halfway through for an even bake.

Serve your fries and chickpea balls with lots of veggies and a yummy sauce to dip in if you wish!


Love, Tilda

Sponsored by:
PopAds.net - The Best Popunder Adnetwork

Saturday, 12 July 2014

Healthy Peanut Satay Dipping Sauce

I love Asian cuisine. Japanese sushi, Indian daal, Chinese dumplings… the list goes on. Although I’ve often ordered home the healthier options, I can never quite get those amazing flavours to really sing in my own kitchen. Or at least until yesterday I couldn’t. That was when this Healthy Peanut Satay Sauce came to life. Lord, am I glad to have succeeded with this one! It still has that yummy taste of peanuts, mixed with the sweetness from the dates (!) and the hot bite from the Thai red curry paste.

Conventional Peanut Satay sauce isn’t too “unhealthy” except for the sugar but my very unconventional version is both sugar-free and (in my opinion) easier to make than the original.

Healthy Peanut Satay Dipping Sauce


Serves: 1


1 tbsp unsweetened almond milk*

1 tbsp peanut flour*

1 tsp tamari (Japanese soy sauce, not as salty as Chinese)

1 peeled and pitted fresh date, soaked for a few hours if it’s really hard to peel

1 tsp Thai red curry paste (a scant tsp if you want it to be less spicy)

How to:

1. In a small bowl or glass, mash the date with a fork and 1 tsp of the almond milk until it’s a smooth “paste” that’s easy to mix with the other ingredients. 
2. Pour in the rest of the ingredients and stir until they’re all evenly mixed in. Have a taste. And another. And another. And another  ;-)

I served it with steamed broccoli, brown rice and soy meat skewers and a few crushed peanuts on top for a little crunch!


*Note: If you want to use coconut milk and/or peanut butter instead, go ahead! I think it’s easier to make this way but we all have different preferences.

Sponsored by:
PopAds.net - The Best Popunder Adnetwork

Thursday, 10 July 2014

Creamy Avocado Pasta Sauce


Avocados. Up until a few weeks ago, I had never in my life eaten a whole avocado. Sure, a few bits and pieces here and there when I couldn’t help it, but never voluntarily. Don’t ask what happened between then and now because today, I honestly can’t imagine a life without avocados. Pair it with some good carbs (yes, carbs are fantabulous), veggies and you have a fool-proof, healthy and most of all d-e-l-i-c-i-o-u-s meal.


Creamy Avocado Pasta Sauce


Serves: 1

 ½ ripe avocado

 1 small handful each of fresh basil and baby spinach

 ¼ - ½ clove garlic

 1 – 2 tsp lemon juice

1/2 tbsp olive oil

 Salt and pepper to taste

How to:

1. Blend all ingredients with a hand blender until smooth and taste to see if it needs more of anything. If so, season until you're happy, blend again and voilà, you’re done!
Best eaten cold with pasta and vegetables of your choice!

Avoc love, Tilda

Sponsored by:
PopAds.net - The Best Popunder Adnetwork

Tuesday, 8 July 2014

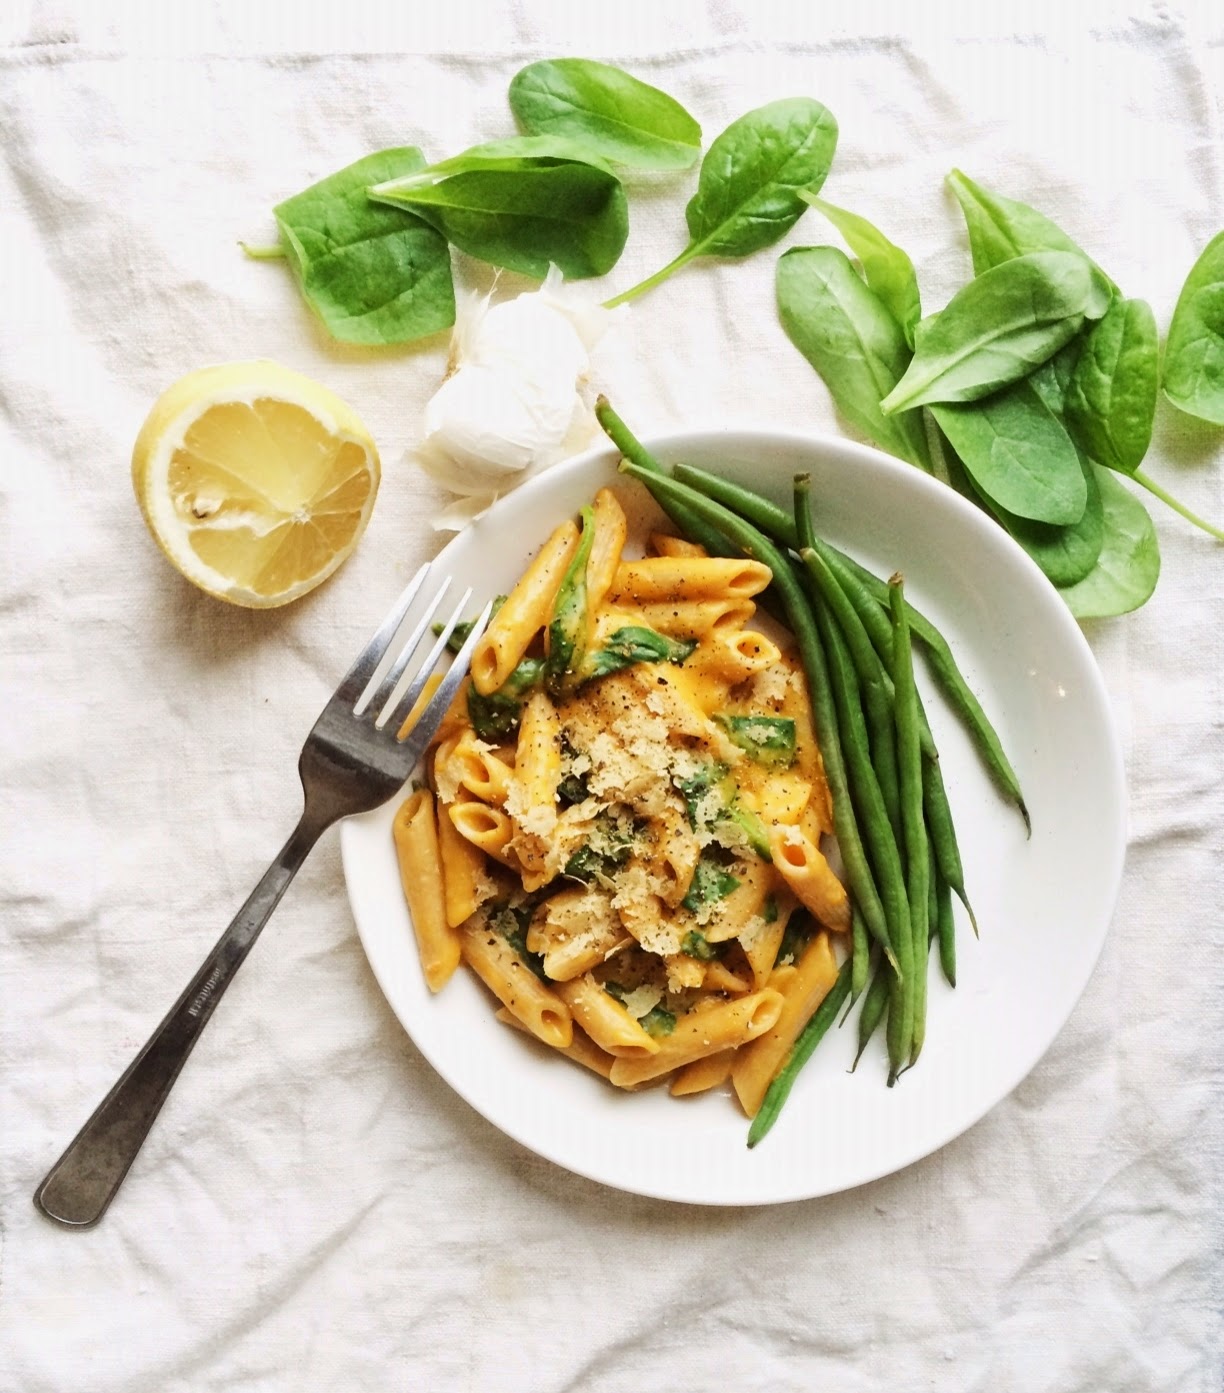
"Cheezy" Butternut Squash Pasta Sauce

I’m so sorry I haven’t had the time to update the blog but I’ve been a busy bee these past few days. I decided to take a scuba diving course so that I can go diving when we travel and it has really kept me occupied. I’ve loved every single minute (okay, lie, the theory lessons weren’t that much fun) and I can’t wait to go diving for real!

So, to this recipe then. I’ve seen more vegan mac and cheese recipes than I can count and I’ve been dying to try it out for myself, my only problem has been that I haven't known where to find nutritional yeast. If you don’t know what nutritional yeast is, I suggest you google it but I can tell you briefly that it’s a vegan, de-activated kind of yeast that has a slightly nutty and somewhat cheesy flavour. Obviously a great choice when making vegan dishes with “cheese” in them. What’s even better is that more often than not, nutritional yeast is PACKED with B-vitamins, thus also the much coveted vitamin B12. Since vitamin B12 is hard to incorporate in a vegan diet without taking supplements, I see nutritional yeast as a great alternative to pills or shots.

Hope you like this recipe, feel free to play around with the quantities a bit!

"Cheezy" Butternut Squash Pasta Sauce


Yields: 2 servings 

1 clove garlic 

2 tsp coconut oil 

1 cup cubed butternut squash 

½ cup almond milk 

1 ½ tbsp. nutritional yeast 

½ tsp vegetable bouillon powder 

1 tsp Dijon mustard 

½ tbsp. brown rice flour (or thickening of your choice such as arrowroot powder)


How to:

1. Start off by steaming or boiling your squash until it’s soft all the way through, this will take approximately 20-30 minutes depending on how big your chunks are.
2. Meanwhile, sauté 1 finely sliced clove of garlic with coconut oil in a small saucepan on medium heat until the smallest pieces start to brown, then quickly add the almond milk, mustard, bouillon powder, nutritional yeast and lastly the brown rice flour (through a sieve to prevent clumping). 
3. Let simmer for about 10 minutes and make sure to stir continuously as you go.
4. As soon as the butternut squash is cooked, take it off the heat and blend, in either a food processor or using a hand blender (I prefer the hand blender). 
5. Blend the squash purée with the ‘cheeze’ sauce, taste and add a little more bouillon/nutritional yeast if you want. Serve with freshly cooked pasta and veggies on the side!

Sponsored by:
PopAds.net - The Best Popunder Adnetwork